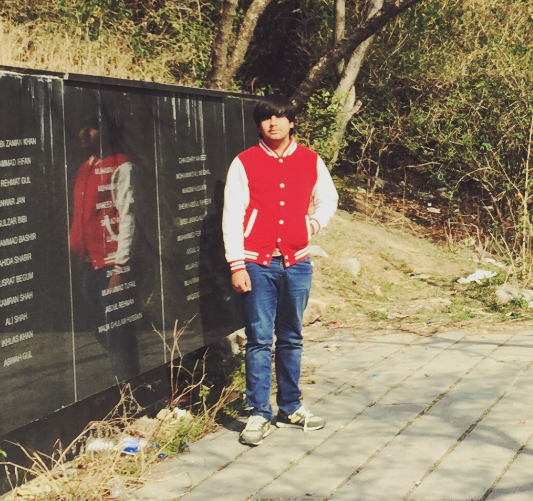
1. Do not place your subject in the middle of the picture.
I have learned from a photography seminar I had recently attended that you only place your subject in the middle of the frame when you are taking passport photos. Your pictures will look more pleasing to the eye if you move your subject away from the middle of the frame.
2. Follow the rule of thirds
This is closely related to my first point. Imagine a 3 x 3 grid in your viewfinder and position your subject within one of the intersections of these lines. The Rule of Thirds is based on the fact that the human eye is naturally drawn to a point about two-thirds up a page. Crop your photo so that the main subjects are located around one of the intersection points rather than in the center of the image (Photo credit: http://www.smashandpeas.com/ ; click on the photo to see an enlarged view)
3. The closer you move towards your subject, the better your picture
Take a step or two closer before taking the picture and zoom in on your subject. Your goal is to fill the picture area with the subject you are photographing. That way you get a nice, uncluttered picture where the viewer sees the beauty of your subject and doesn't get distracted with the unnecessary things in the background.
4. Pay attention to details
Sure, we all like to take pictures of the spell-binding Taj Mahal, but do not forget to look around your surroundings and capture small details. When I visited the Taj Mahal, I immediately took a hundred pictures of this magnificent structure from every possible angle. However, I also returned home with simple pictures, like a monkey sitting on the marble floor enjoying a piece of bread, a cute little chipmunk near the fountains, and a funny sign in the nearby coffee shop. Pictures like these might seem mundane a few seconds after you've taken them. But you'd look back on them a year from now and realize just how well they've documented your travels.
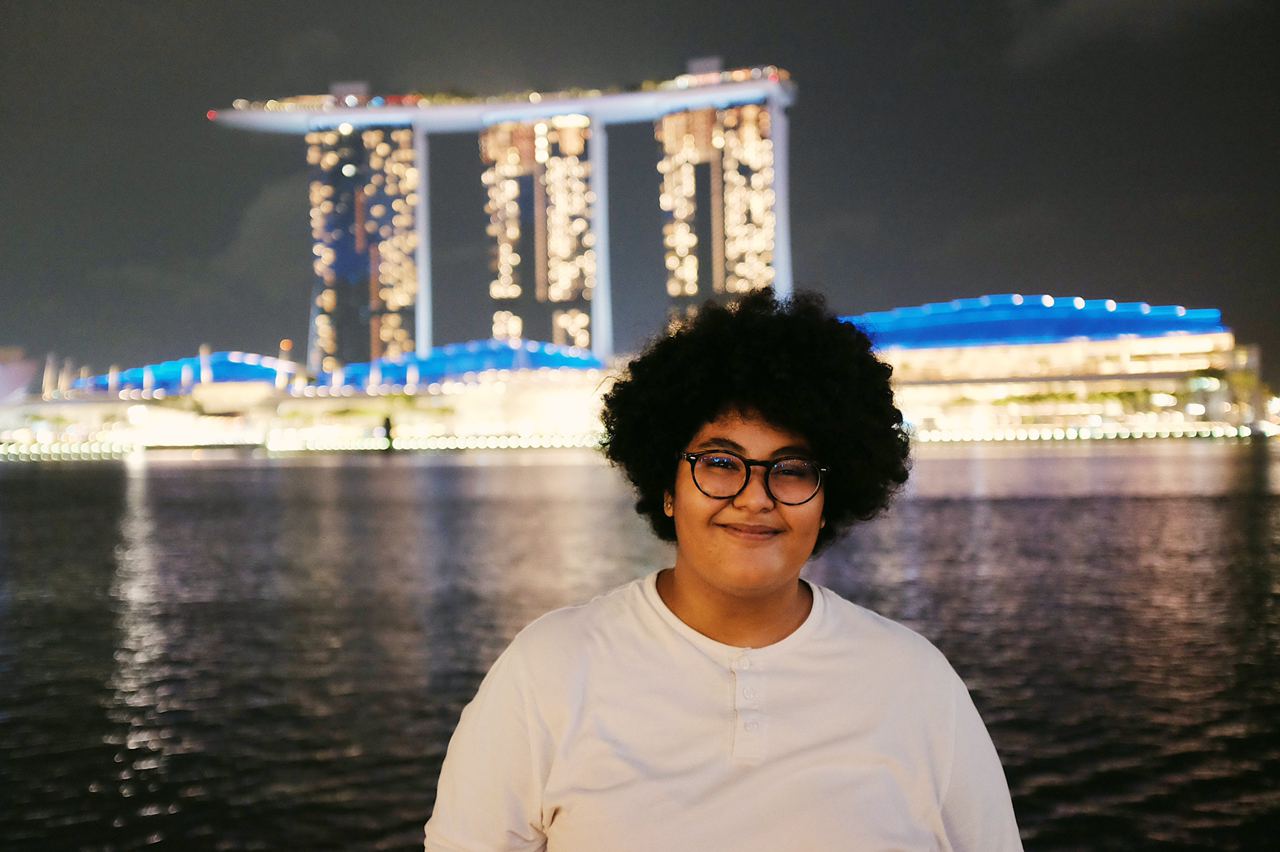
5. Aim to shoot during the golden hours
Shoot at dawn or just before sunset. It might seem a real pain at times, especially when you're traveling, but professional photographers swear by the angles of the light. Learn to use that special glow to get those shots and you'll find it makes all the difference to the quality of your final product. Don't let it stop you shooting at other times, of course, but you'll probably find that pictures captured during the golden hours end up being your best photos.
6. Do some research and get inspired
There is absolutely nothing wrong with getting a little inspiration for your photography by looking at what other photographers have done in the same location(s) you plan on visiting. The internet provides a great avenue for checking out a location before you go. A photo site like http://flickr.com is one of many great places to start. You can simply do a search for the place you are planning on traveling to and then check out the photos that others have taken. I do this each time before leaving for a trip.
7. Use flash even when the sun is up
You can use your flash even on a bright sunny day to reduce the intensity of shadows. This technique is most common when you are taking a portrait. There are two extreme cases where fill flash can make a huge difference in your photo: when the subject is wearing a hat and when the sunlight is behind them.
8. Always use a tripod or support for night shots or low light photography.
If you like taking pictures in low light settings, you know that it helps increase the ISO level in your camera. However, the higher the ISO the more your picture will appear grainy. Therefore, try to keep your ISO to, let's say, around 400, and mount your camera onto a tripod or monopod to reduce blurriness. If you use flash to photograph a street or building at night, chances are that your pictures will appear flat and unappealing. So both increase your ISO a bit and use a tripod.
9. Think like an editor
Whenever an interesting building, event or landscape fascinate you, slow down and take mental notes on how to capture it into an amazing photograph. You do not need to include every single detail that your eye can see. In photography, less is better. Figure out what your subject is, analyze the background, and check the lighting condition.
10. Post-process your pictures
Sure, as soon as you get home you are excited to upload all your travel pictures and post them online on your website or Facebook. Sometimes you don't even bother to rotate a few pictures, as a consequence of which your friends and loved ones find that the Eiffel Tower is standing horizontally in your pictures. Personally, I like using Picasa as my photo editor. I like to personally go through every single photograph, crop it (to remove unwanted clutter or to bring the subject off center), adjust color saturation and temperature, and add my name as a watermark.
And do not forget, of course, to enjoy your trip!